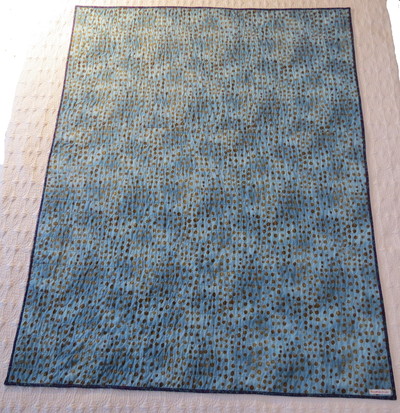
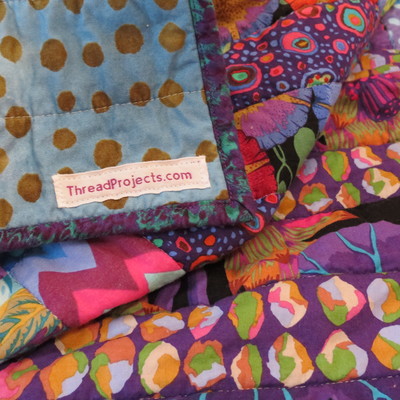
Michael's Quilt
Completed: November 2017
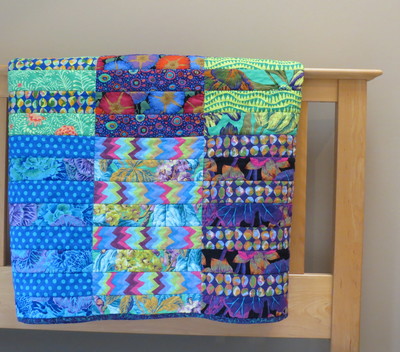
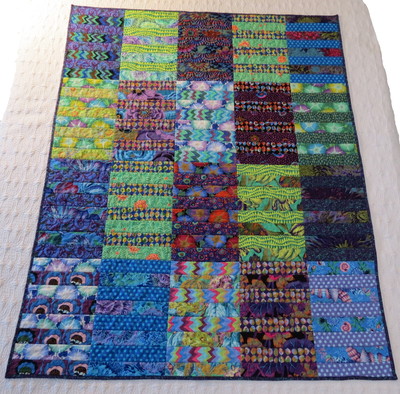
Pattern: “Lolly”; modified pattern size; see pg.13 of Dear Quilty book by Mary Fons and Team Quilty
Quilt Size: 50 X 66”; 47 x 61" after shrinking
Block Size: 16 x 10” finished rectangle
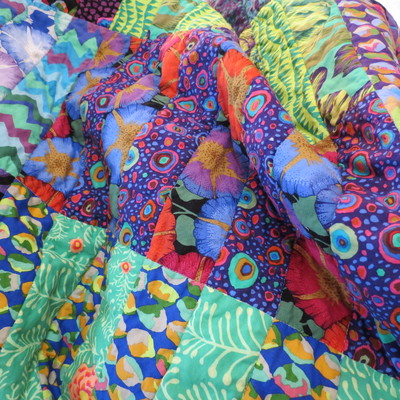
Fabric: Mainly jelly roll precut strips from various Kaffe Fassett collections
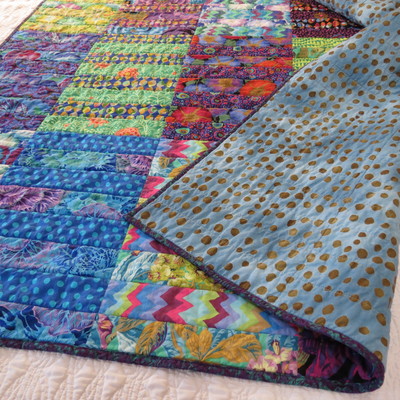
Technique: Created strip-set units. Used a lighter-weight batting (i.e., Quilter’s Dream Request) for the first time which made quilting on my domestic sewing machine much easier. Used stitch-in-the-ditch technique through all three layers. Created bias binding (see technique in Craftsy Sew Sturdy Ultimate Travel Bag class). Attached binding with a 3/8” seam. Machine stitched binding with different colored top / bobbin thread (see Craftsy "Mastering in Minutes" Finishing Quilts class).
Notes: My husband saw this “jelly roll” in a quilt store and liked the bold colors. Lessons learned during quilt construction:
- buy only pre-cut fabric where you can see all of the choices beforehand; don’t assume they’re all from the same design collection!
- press seams to the side when piecing if you plan to quilt using stitch-in-the-ditch technique because the slight ridge created helps to create a more even stitching line compared to ditch stitching in pressed-opened seams
- use a 1/4 inch seam when attaching the binding if you plan to machine-stitch it in place. Attaching the binding with a 3/8 inch seam will create an even binding from front to back (with 2.5 inch binding) and yet the stitching is difficult to keep even. Select a spool-thread color that matches the binding and a bobbin-thread color that matches the backing

